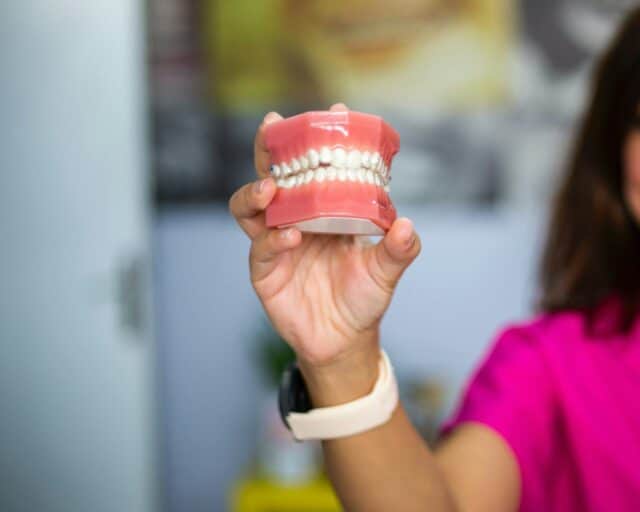
Good oral hygiene is essential for everyone, but it’s especially crucial if you have dental implants. Without a proper dental implant care routine, plaque and bacteria can build up, leading to gum inflammation, infections, and even implant failure.
On the bright side, a few simple habits can go a long way in keeping your implants healthy for life. A consistent dental implant maintenance plan can protect your investment and allow you to enjoy a beautiful smile for years.
This article covers why oral hygiene matters for dental implants, the best ways to clean them, and the common mistakes to avoid. Let’s get started!
Why Oral Hygiene Matters for Dental Implants
It helps to examine how dental implants work to better appreciate the connection between oral health and implants.
Unlike natural teeth, which are anchored by roots and surrounded by a strong network of connective tissue, dental implants rely directly on the jawbone for support. During osseointegration, the implant gradually fuses with the bone, creating a stable foundation for artificial teeth. While implants don’t decay like natural teeth, the surrounding gum tissue and bones are still vulnerable to bacteria buildup.
Without proper dental implant maintenance, bacteria can accumulate around the implant site, leading to inflammation, infection, and bone deterioration. A common condition known as peri-implantitis (a progressive inflammatory disease that affects implants) can cause severe damage and, ultimately, implant failure, if left untreated.
Risks of Poor Oral Hygiene for Dental Implants
Poor hygiene doesn’t just put your gums at risk; it can affect the stability of your implant and even impact your overall health.
Here are some of the most common risks associated with inadequate dental implant care routine:
- Peri-implantitis: This infection develops around the implant and causes gum inflammation, swelling, and potential bone loss.
- Gum Disease: Bacteria buildup around the implant can result in gingivitis, which, if untreated, can progress to periodontitis.
- Bone Loss Around the Implant: Infections can deteriorate the jawbone, weakening implant stability.
- Implant Instability and Failure: Weakening of the surrounding tissue and bone can cause the implant to loosen or even fall out.
On the other hand, knowing how to clean dental implants properly and maintaining good oral health support osseointegration, keeping the implant secure and functional. Healthy gums are crucial to long-term success and ensure your implant functions like a natural tooth.
Best Practices for Cleaning Dental Implants
This leads us to the question: what’s the best way to clean dental implants? Like natural teeth, implants need daily care to stay healthy and bacteria-free. However, because they don’t have the same structure as real teeth, they require special attention to prevent plaque buildup and gum irritation.
Here are some practices to include in your routine to keep your implants looking and functioning at their best:
Daily Cleaning Routine
Brushing your implants twice a day is essential, but not all toothbrushes and toothpaste are safe for them. Use a soft-bristle toothbrush to gently clean all surfaces of the implant, ensuring that you effectively remove plaque without irritating the surrounding gums.
Avoid abrasive toothpaste, such as those containing baking soda or whitening agents, as these can wear down the implant crown and irritate the surrounding gums. Instead, choose a fluoride toothpaste to strengthen the surrounding teeth and gums.
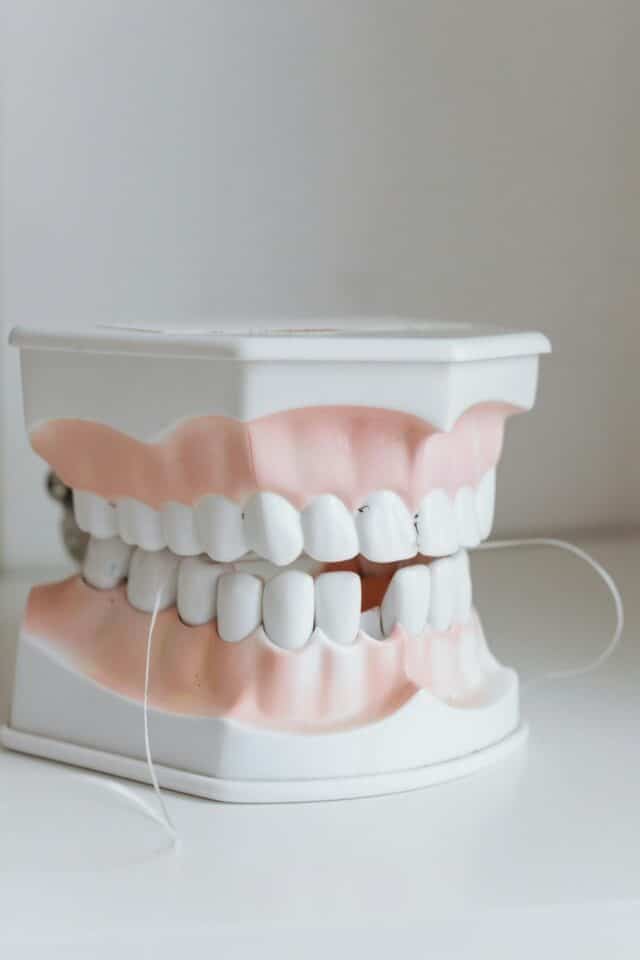
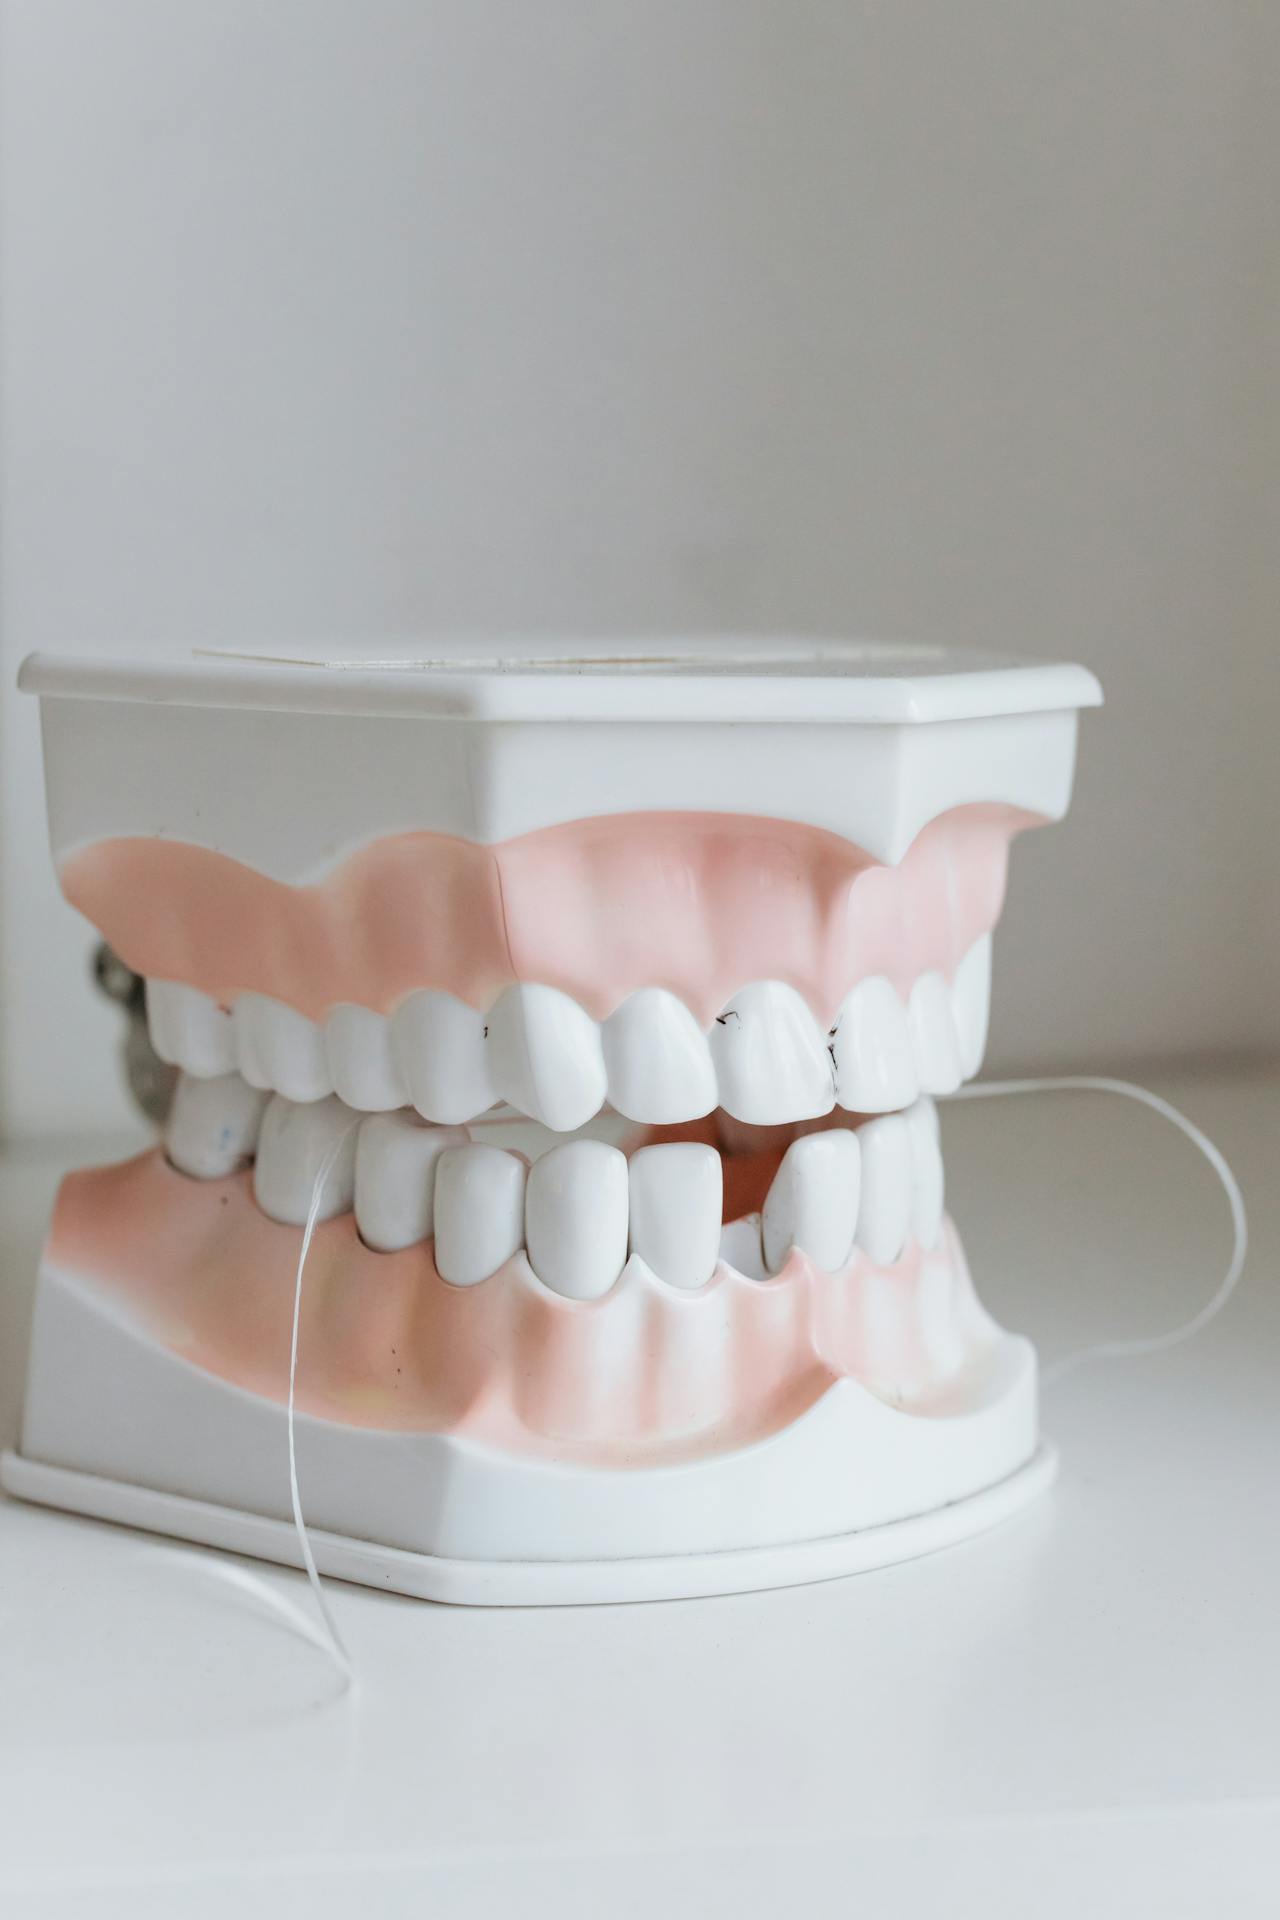
Flossing and Interdental Care
Flossing is just as important as brushing when it comes to implant care. Food particles and plaque can quickly build up around the implant and gum line, leading to inflammation.
Use implant-specific floss or unwaxed dental tape to clean around the gum line without leaving behind debris that could contribute to inflammation. Interdental brushes are also highly effective at removing debris between implants and natural teeth.
Consistently cleaning dental implants with these tools helps prevent bacteria buildup that can lead to peri-implantitis and gum disease.
Using Mouthwash
An antibacterial mouthwash can help control bacteria and reduce plaque around the implant, but should be used as a supplement to brushing and flossing. However, avoid mouthwashes with alcohol, as they can cause dry mouth and gum irritation.
Instead, opt for a gentle, alcohol-free formula that promotes gum health while keeping bacteria at bay.
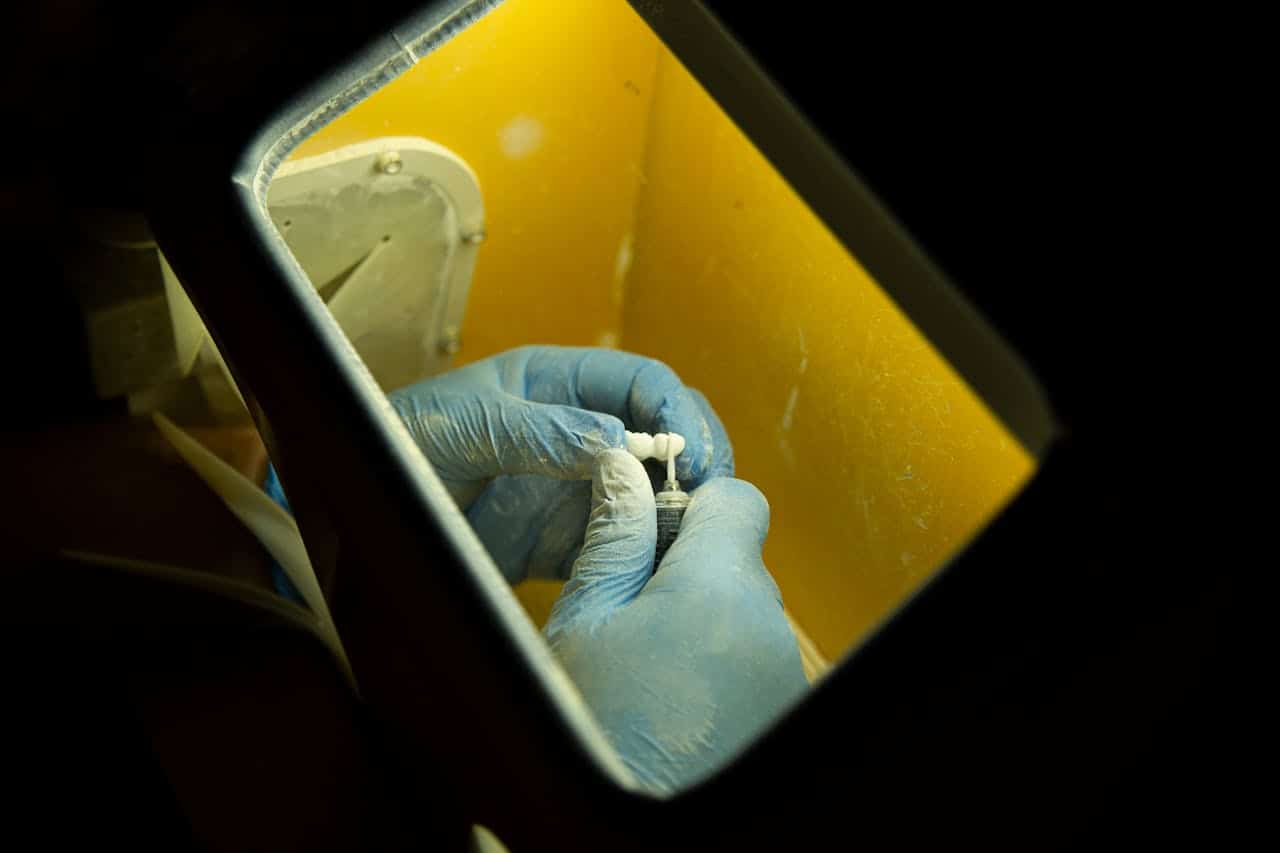
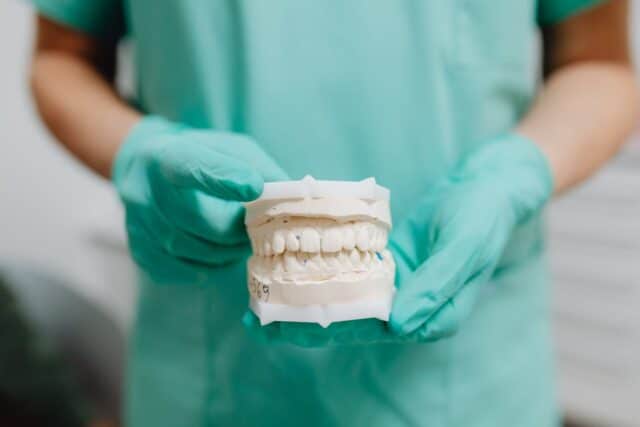
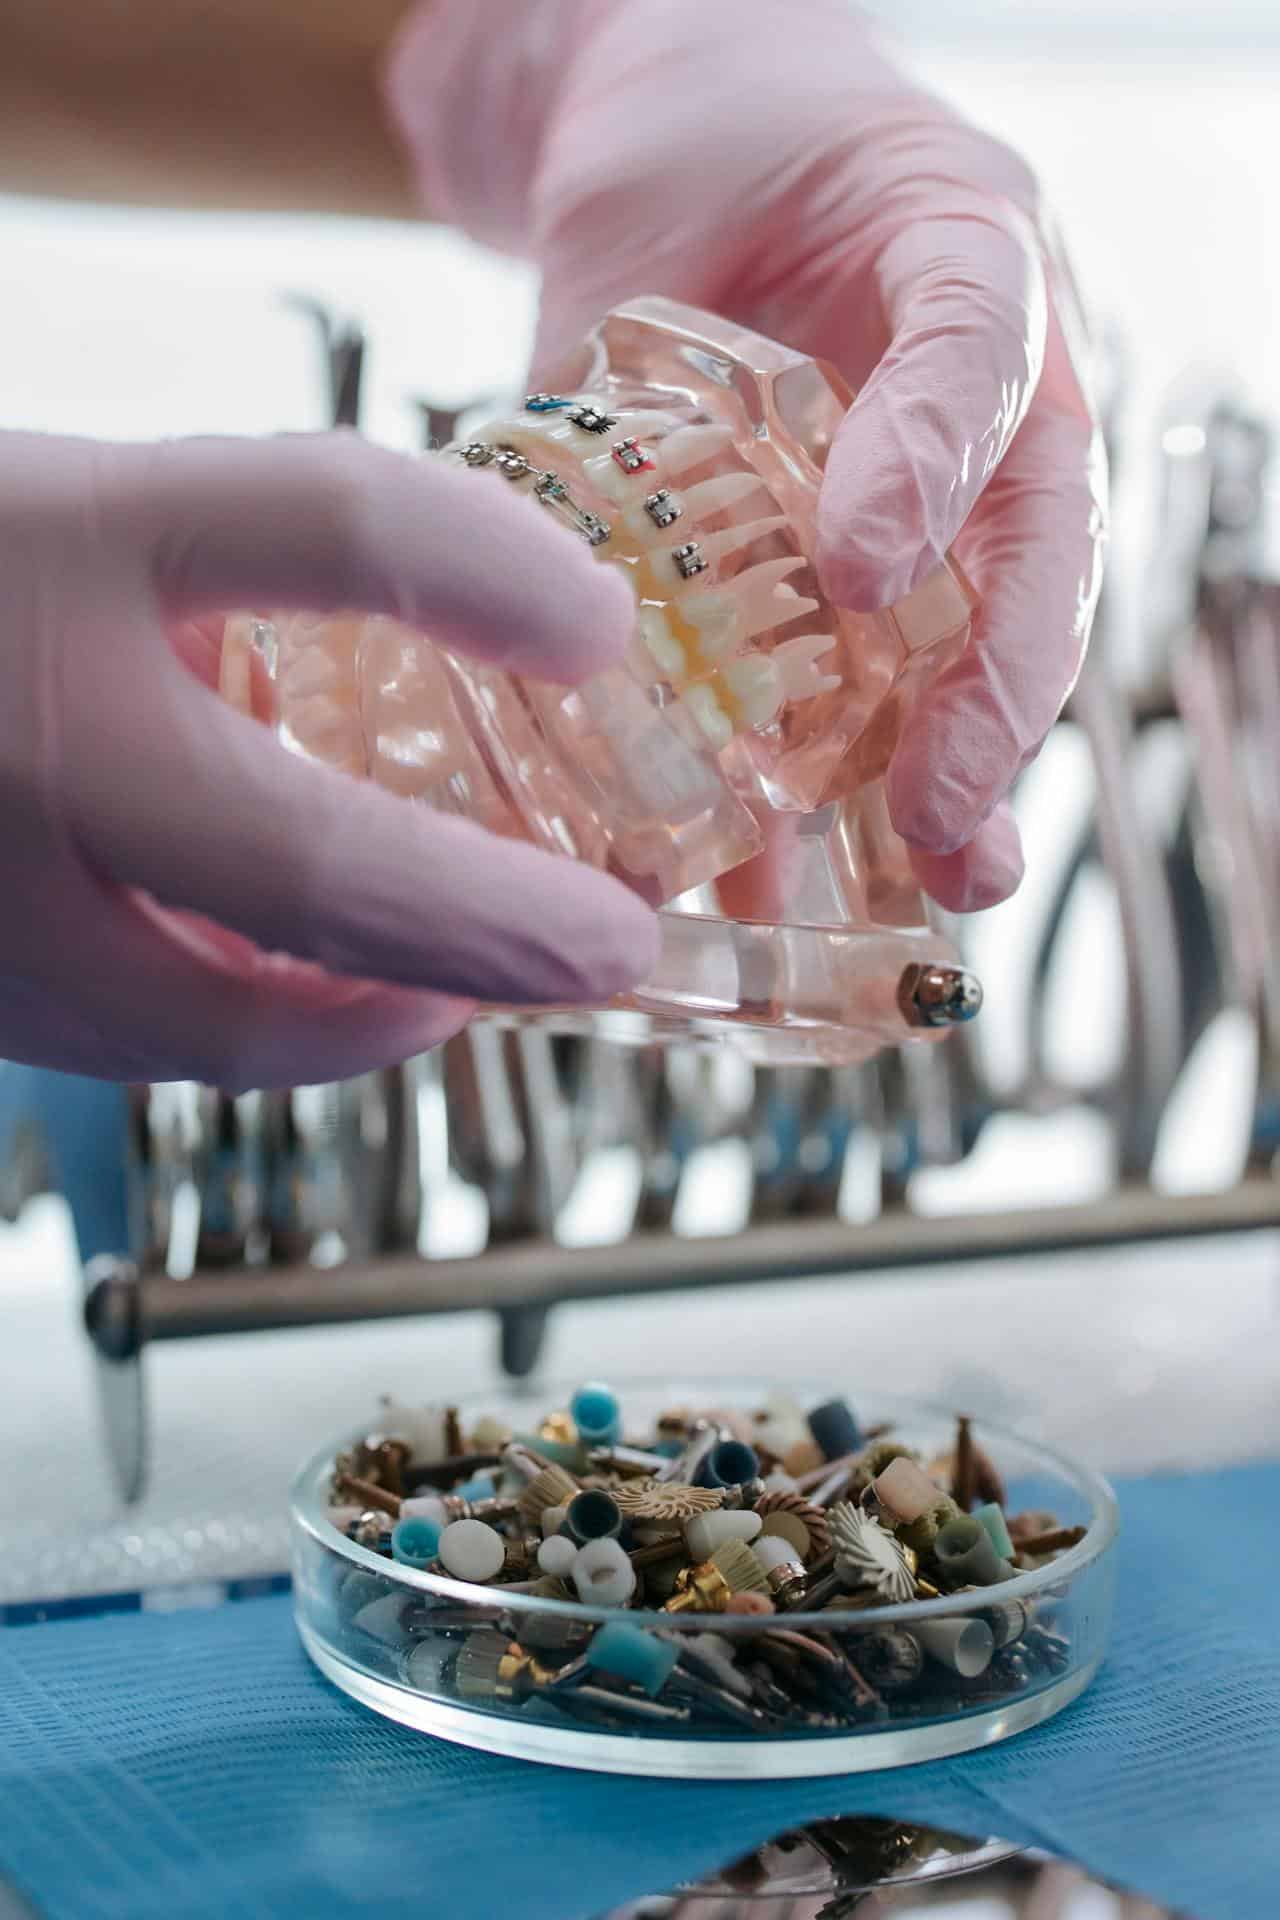
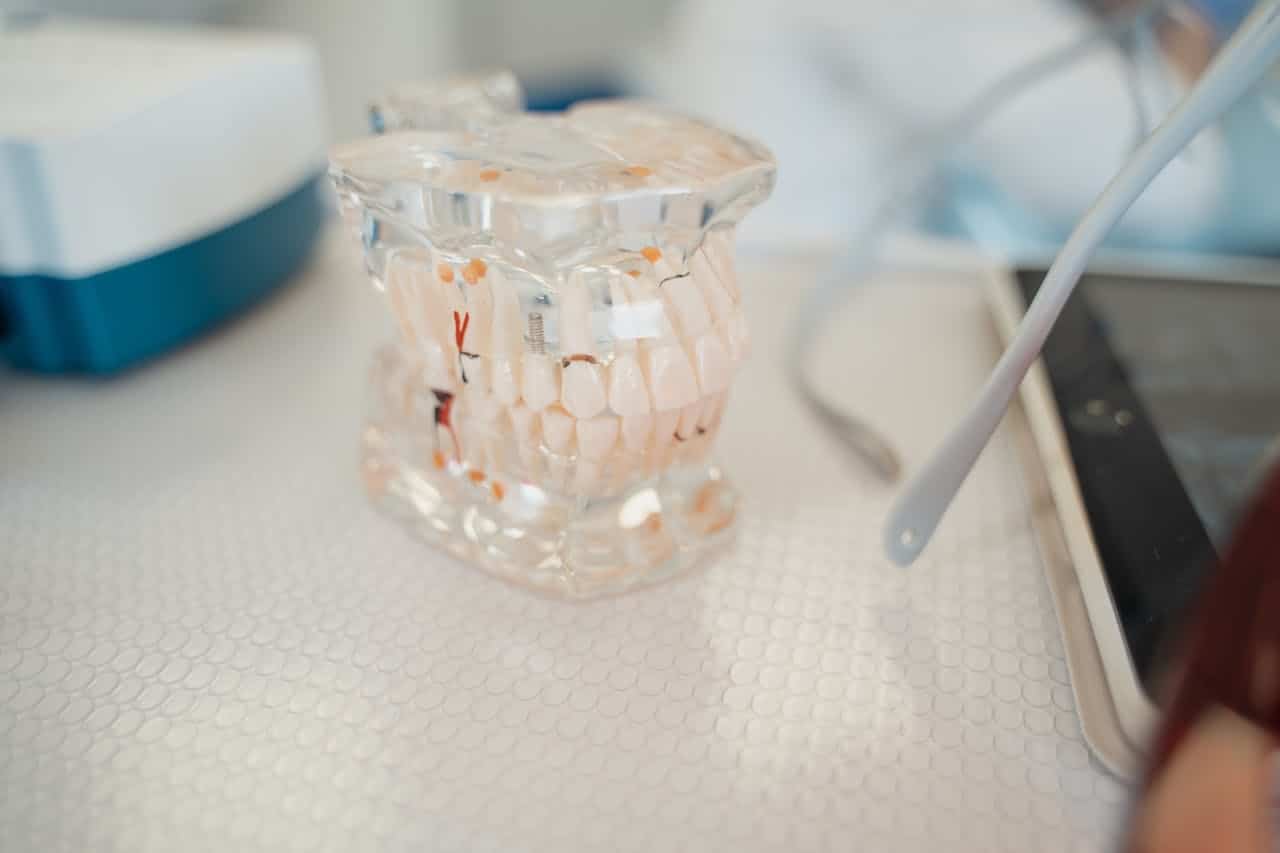
Professional Cleanings and Check-Ups
Even with a strong at-home routine, professional cleanings are essential for implant maintenance. Schedule a dental check-up at least twice a year, where your hygienist will use specialized tools to clean around your implant without damaging it.
Ultimately, regular visits allow your dentist to monitor your implant’s health and catch any early signs of issues before they become significant problems.
Common Mistakes To Avoid in Dental Implant Maintenance
Even with the best intentions, many people unknowingly make mistakes that can put their dental implants at risk. Watch out for these common pitfalls to keep your implants secure and functional:
Using Harsh Toothpaste or Mouthwashes
As mentioned earlier, abrasive toothpaste can wear down the surface of your implant crown. This can cause tiny scratches that trap bacteria over time, increasing the risk of gum inflammation. Similarly, alcohol-based mouthwashes can dry your mouth, making it easier for bacteria to thrive.
Always choose gentle, implant-friendly products to protect your oral health.
Ignoring Bleeding Gums or Signs of Irritation
Minor bleeding while brushing or flossing may not seem like a big deal, but it can be an early sign of gum disease or peri-implantitis. Similarly, swelling, tenderness, or persistent redness around the implant should never be ignored. Catching these signs early can prevent serious complications that may jeopardize the stability of your implant.
Skipping Routine Dental Visits
Skipping check-ups means potential issues, like gum infections or bone loss, can go unnoticed until they become major problems. On the contrary, regular visits help your dentist detect concerns early and ensure your implant remains secure.
Smoking
Smoking is one of the biggest threats to dental implants. Nicotine restricts blood flow to the gums, slowing healing and making it harder for your body to fight infections. If you’ve invested in dental implants, quitting smoking can help protect your long-term results.
Benefits of Maintaining Good Oral Hygiene With Implants
Taking care of your dental implants isn’t just about keeping them clean. It’s ultimately about protecting your smile, health, and investment. Committing to good oral hygiene ensures that your implants stay functional and aesthetically pleasing for years to come.
Here’s what prioritizing implant care can do:
Extend the Lifespan of Dental Implants
Dental implants have the potantial to last a lifetime — but only if they receive proper care. Without a strong hygiene routine, plaque and bacteria can build up, weakening the surrounding gum and bone.
Reduce the Risk of Implant-Related Infections
While implants can’t develop cavities, the surrounding tissues remain vulnerable to bacterial infections. Learning how to clean dental implants properly helps prevent peri-implantitis and other issues.
Enhance Overall Health and Confidence
Keeping up with cleaning dental implants ensures they remain in top condition, giving you a strong, healthy smile that looks and feels great. It helps you feel more confident, whether you’re speaking, eating, or smiling.
Prevent Costly Future Dental Procedures
Neglecting implant care can lead to infections, gum disease, and even implant failure, resulting in expensive treatments or replacements. By prioritizing daily cleaning and routine dental visits, you minimize the risk of complications and avoid unnecessary costs in the future.
Create a Beautiful Smile
Your smile is one of the first things people notice. Maintaining a clean, healthy implant ensures your smile stays bright, natural-looking, and attractive for years.
A little effort each day makes a big difference. By practicing good oral health and implant care, you can enjoy the long-term benefits of a strong, confident smile.
Your Smile Deserves the Best Care and Attention
Dental implants are a durable, natural-looking solution for missing teeth, but their long-term success relies on consistent care. Taking a few minutes daily to brush, floss, and use mouthwash makes a significant difference in protecting your implants.
However, at-home care isn’t enough on its own. Regular dental check-ups ensure your implants remain secure, your gums are healthy, and any potential issues are caught early.
Whether you already have dental implants or are considering them, a strong oral hygiene routine is the key to maintaining a confident smile. Book an appointment with Archpoint Implant Dentistry today for a professional check-up and personalized care recommendations.